Roti Canai
Fluffy, flaky flatbread traditionally made by throwing the bread dough in the air in a spinning motion to flatten the dough. It is typically served with curry and sambal. Originated in India now recognized by the UN as part of Malaysia's intangible cultural heritage. "Roti" meaning bread and "Canai" Malay word for "to roll dough thinly".
The Recipe:
Prep: 30 mins
Cook: 20 mins
Total Time: 50 mins
Serving Size: 8
Ingredients
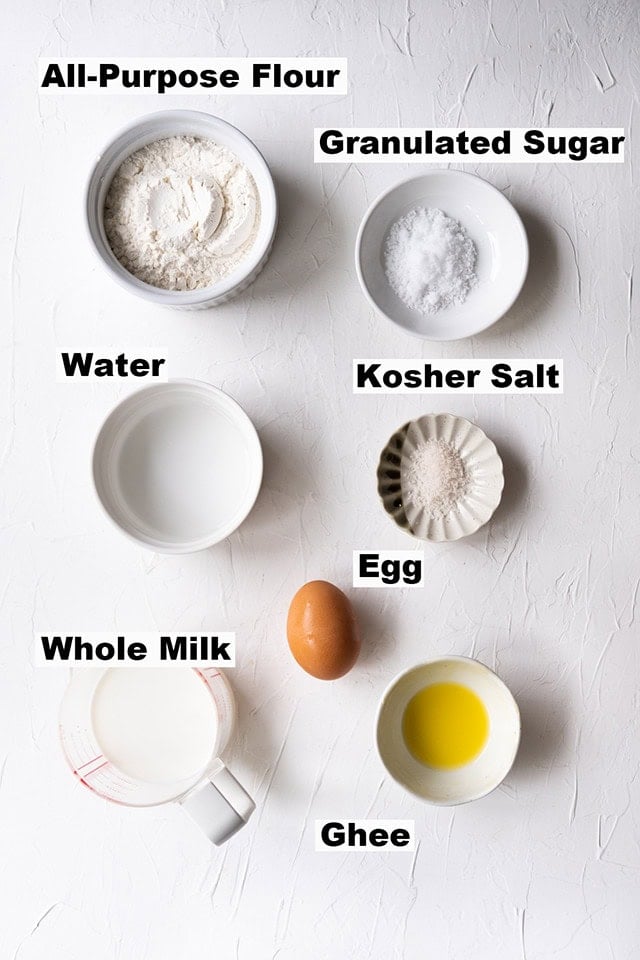
- 3 1/2 cups all purpose flour , (420 g / 14.8 oz)
- 1 1/2 teaspoon kosher salt
- 1 teaspoon granulated sugar
- 3/4 cup ghee, room temperature
- 1 large egg, beaten
- 3/4 cup whole milk
- 1/2 cup water
Instructions
- In the bowl of a stand mixer, combine the flour, salt, sugar, and 1/4 cup of ghee. Turn the mixer to low speed and let it run until everything clumps together.
- Add the egg, milk, and water to the mixer and keep mixing until the dough comes together and becomes smooth, elastic, and just a little sticky-not too wet. This should take about 8 to 10 minutes of kneading.
- Once the dough is ready, transfer it out and divide it into eight equal pieces-about 4 ounces (113 grams) each. Shape them into smooth, round balls.
- Coat each ball with about a teaspoon of ghee, making sure they're well slathered. Arrange them in a single layer on a plate, cover with a damp cloth, and let them rest at room temperature for at least 6 hours.
- Pro tip: You can make the dough a day ahead and keep it in the refrigerator.
- If the dough was made a day ahead, let it come to room temperature. If your kitchen is chilly, place the dough in a warm spot, or you can microwave it for 10-second intervals. Warm dough is more elastic and easier to work with.
- Clean a small surface, about 2 inches by 2 inches (5 cm x 5 cm), and coat it with a 12-inch circle (30 cm) of ghee-about 2 tablespoons. Make sure your hands are well-lubricated with ghee too. This helps keep the dough from sticking as you work with it.
- Stretch out the dough into a thin sheet, then drop 1 teaspoon of ghee right in the center of your buttered work area. This will help keep the dough soft and pliable.
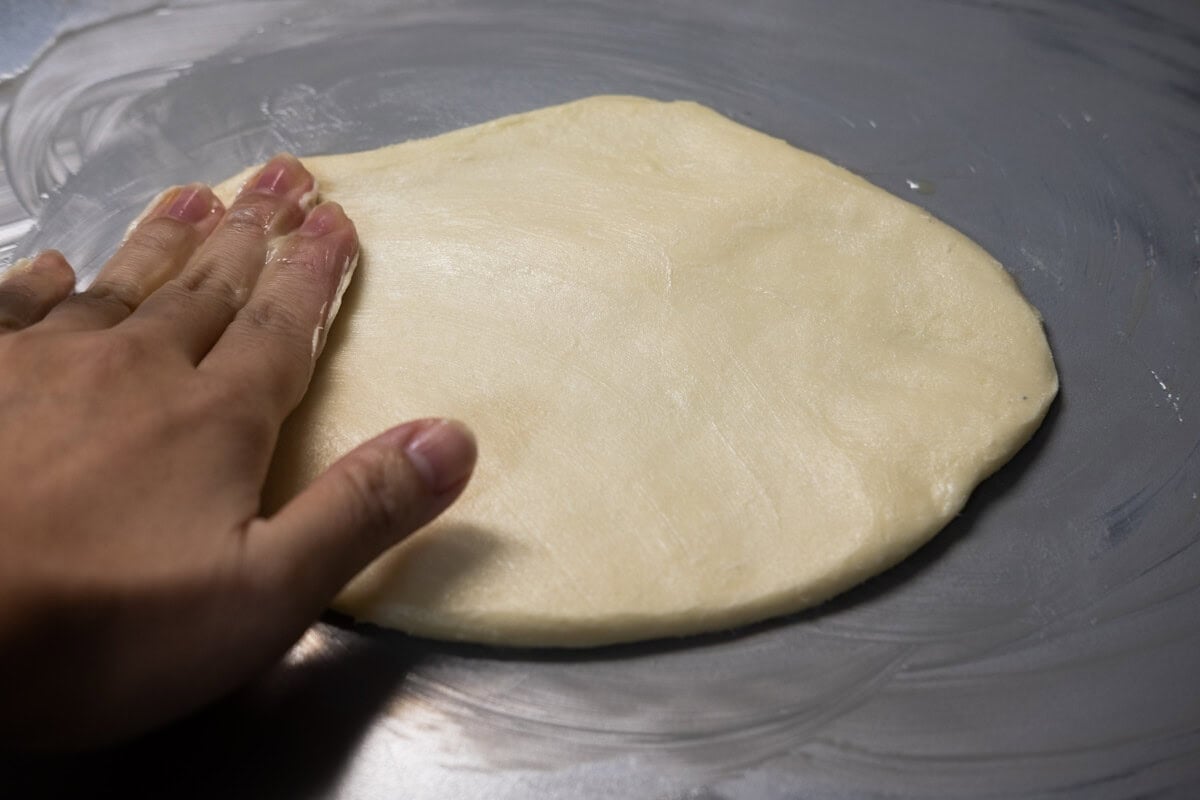
- Place one dough ball in the center of your ghee-coated surface, then gently press with your buttered palm to flatten it into a 6-inch (15cm) disc. Make sure it's less than 1/4 inch (5mm) thick, and especially thinner around the edges.
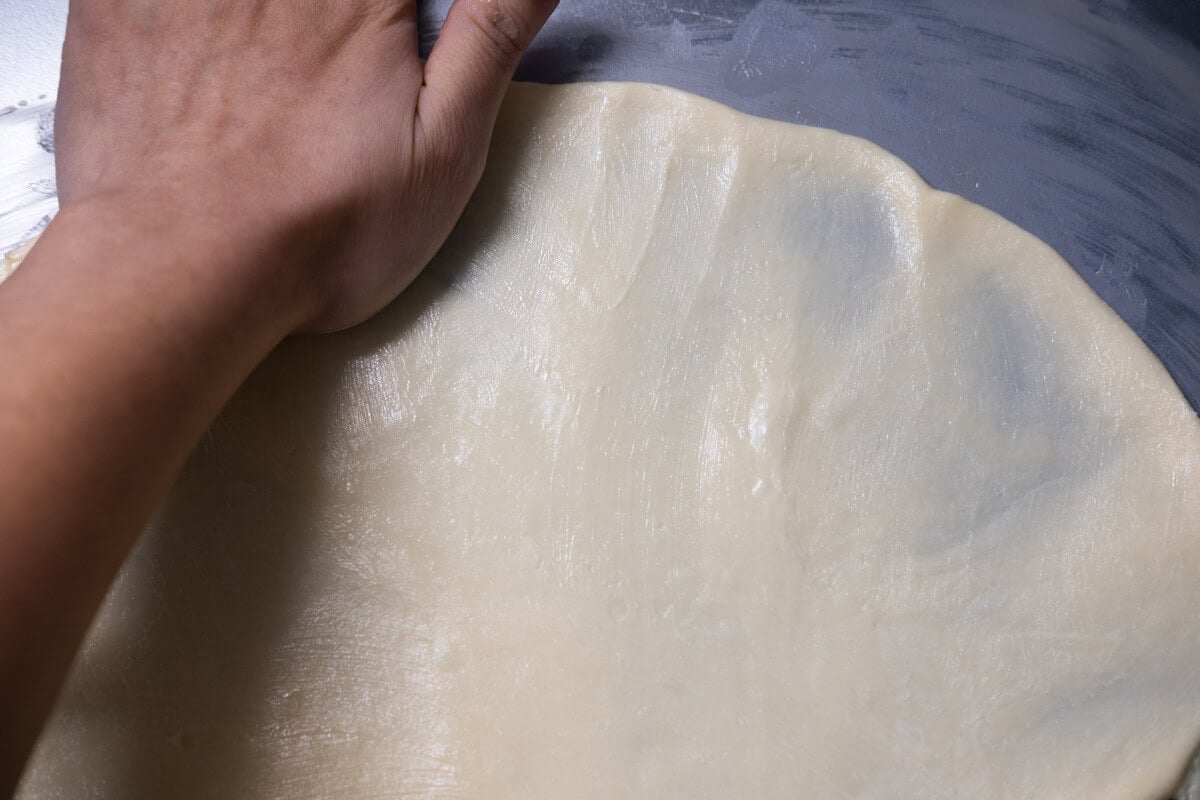
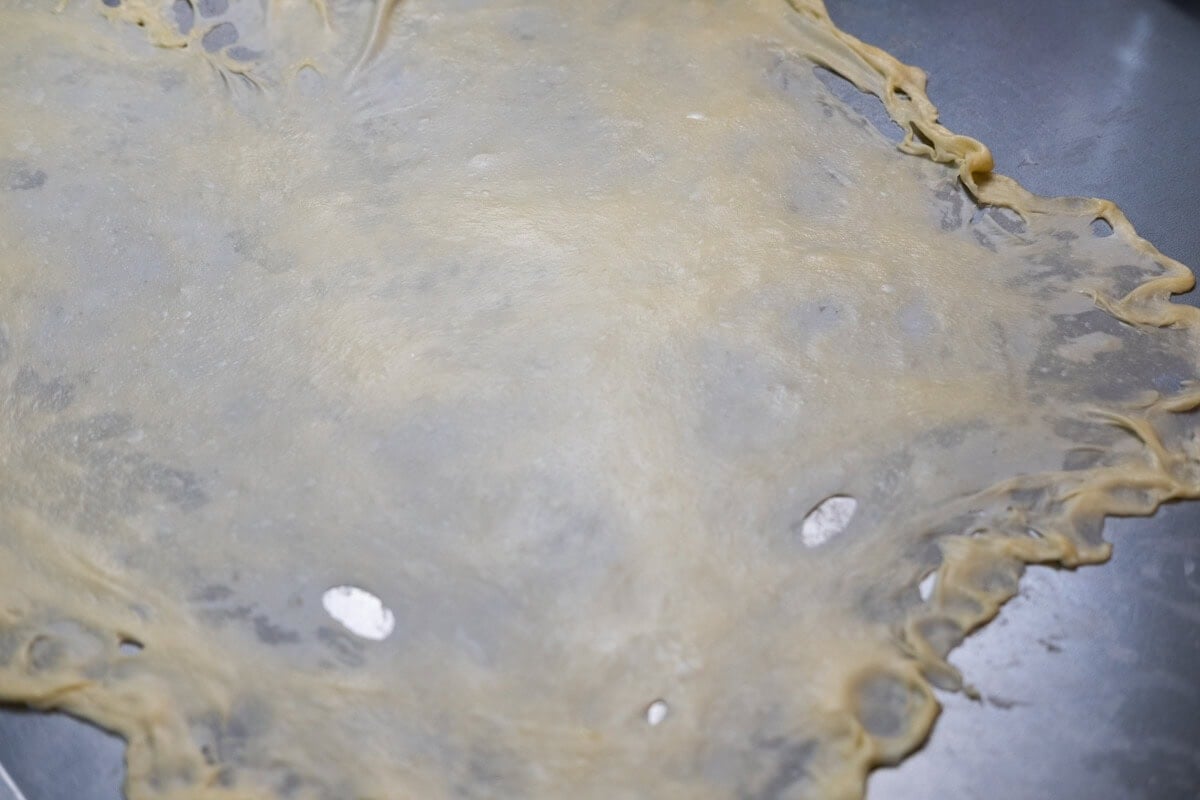
- Gently pull and stretch the dough from the center outwards. Use your fingertips and thumbs to lift the thicker edges, pulling them outwards to thin. Press gently against the table as you go to help the dough stretch and adhere. You want it as paper-thin as possible, especially around the edges.
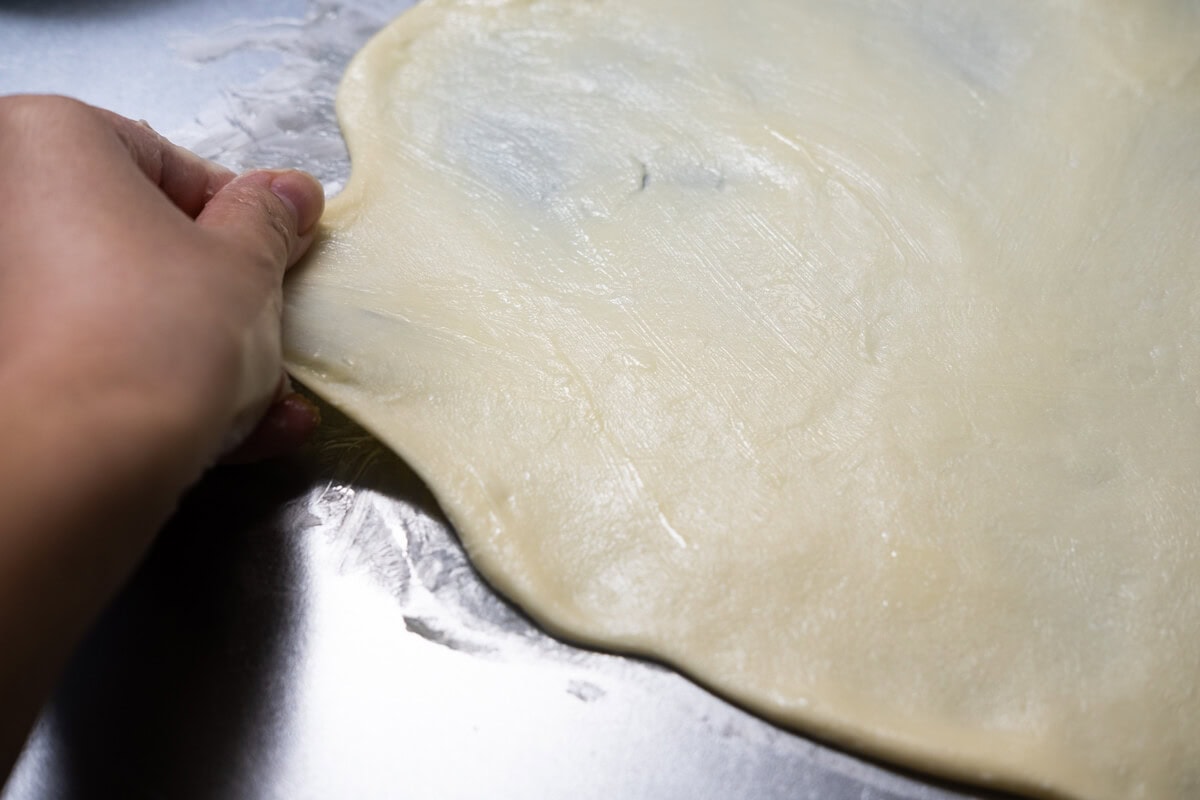
- Slowly work your way around the perimeter of the dough circle, gently pulling it outwards to thin. Start by pulling about 3 to 4 inches (8 to 10 cm) at a time. Keep going until the dough becomes thinner and thinner, ensuring it's as thin as possible, especially around the edges.
- As the dough becomes thinner, pay close attention to the thicker parts. Use your fingertips to gently stretch and thin those areas out. Keep working until you've got a paper-thin sheet, about 2 feet in diameter. It might take a bit of practice to get it just right, but that's what makes it so satisfying when it finally comes together!
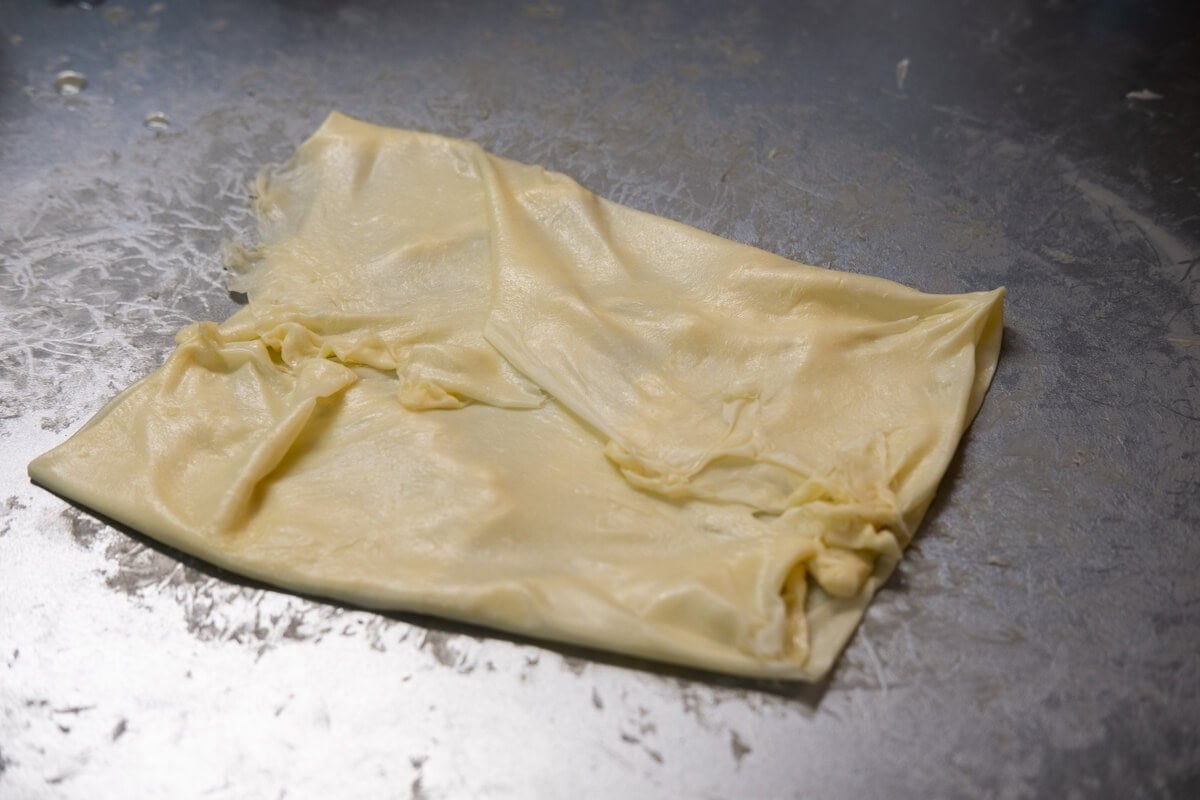
- Once the dough is stretched thin, its time to fold. Fold the top quarter of it over itself, almost reaching the center. Then fold it over again, and again, until you have a neat square about 6 to 8 inches in size. Each time you fold, make sure to capture a little air between the layers. It'll give your dough those beautiful, flaky layers when you cook it!
-
-
-
-
-
-
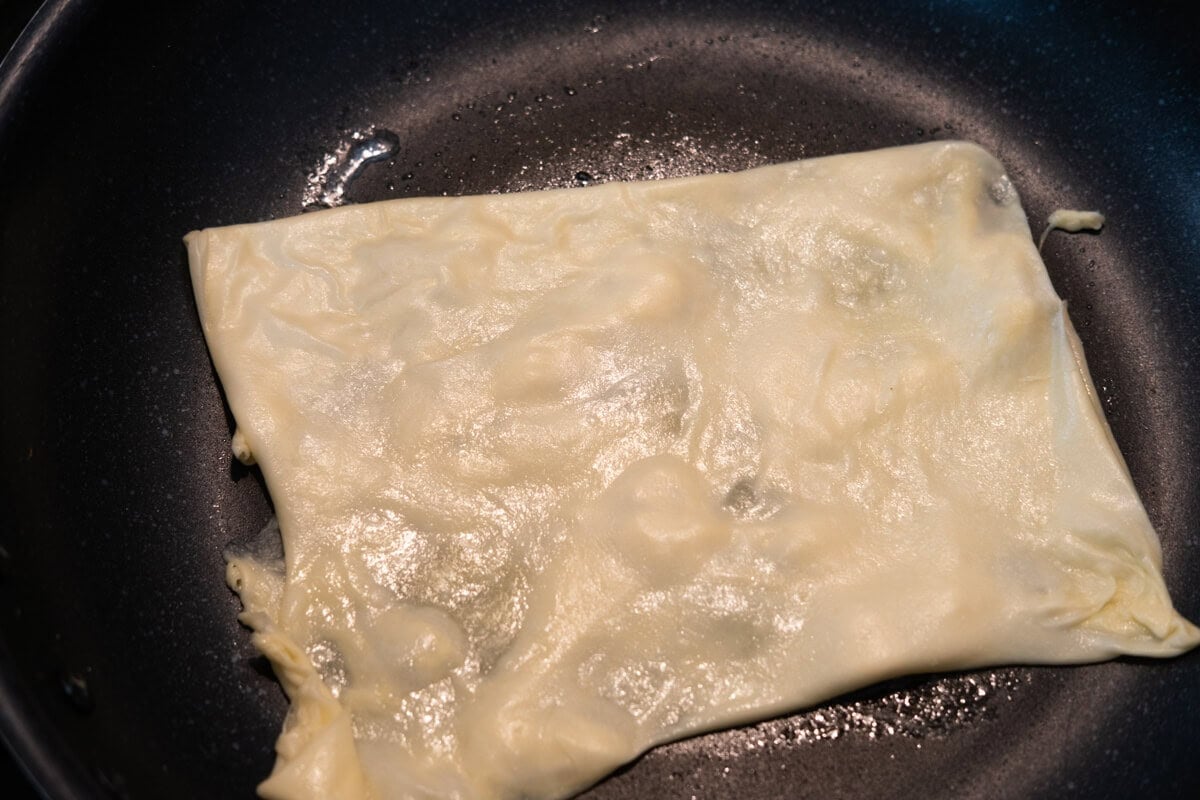
- Heat up a griddle or a big saute pan over low heat. You want it nice and warm, but not too hot to burn the dough right away.
- Flatten and spread one disc of dough until it's about 7 to 8 inches in diameter (18 to 20 cm). The dough might pull back a little, but just keep working it gently until it's nice and thin.
- Drizzle a little ghee on the griddle, then place one bread on it. Cook slowly, turning it once, about 3 to 4 minutes per side. Rotate occasionally to get that even golden brown on each side.
- Once the bread is done cooking, transfer it to a work surface. Be careful-it's going to be hot! Use a clapping motion to slap the bread together between your hands, which will separate those delicious layers.
- Keep going with the rest of the roti! Cook them in batches, as many as will fit in the pan at once. Once they're done, serve them hot with your favorite curry sauce or a sprinkle of sugar. Enjoy!
Dough
Shaping
Cooking
Image Reference (illustrate?)


Source: Flaky Roti Canai Recipe
Recipe Websites
This website & recipe is effective in that the there are buttons at the top of the page that allow users to jump to the recipe or video, skipping past the descriptions and backstory to the recipe. The section of recipe itself is well organized, with functions such as an interactive ingredients checklist and a "Cook Mode" button that prevents the user's screen from going dark. Only critique is that are a lot of ads and pop-ups.
The Food Network is well-known and trusted as a recipe website. The website is overall easy to navigate and recipes are concise, making it very user friendly.
Awesome website with minimal annoying pop-ups, and well-curated. There are written recipes as well as videos, and overall has a very clean look.
Non-Recipe Websites
Pablo Delcan's Portfolio Website
Declan's portfolio website is minimalistic to allow the focus to be on his displayed projects, but the website is still beautifully designed. Having the interface be minimal yet considerate makes for a smooth user experience.
This sports website has great organization, espcially since there is so much information to display. I like the concise design system & intuitive user experience.
Really funky and artsy website that has a lot of playful elements and strong branding.